A collection often begins as a loose group of references: a colour, a remembered place, a fabric that catches the light, or a problem someone wants clothing to solve. Turning those fragments into finished garments requires a sequence of decisions. This workflow is for designers and small creative teams who need to move from an early idea to a coherent presentation without losing the reason the project started.
What to define before you begin
Write a short project brief before collecting images. State the audience, the context, the intended number of looks, the available resources, and what the collection should communicate. Add practical boundaries such as the delivery date, budget, team, and access to equipment. A brief keeps attractive ideas from turning into an unmanageable pile of samples.
I have found that a single sentence about the collection’s purpose is more useful than a page of mood words. It gives every later decision something to answer to.
Step 1: Research with a question
Good research is active. Start with a question connected to the brief: How can a familiar textile feel contemporary? What makes a garment easier to wear for a particular body or routine? Which visual details belong to the place or story you are exploring?
Gather observations, permitted photographs, material references, interviews, and notes from places or objects. Record the source and your response so borrowed imagery is not mistaken for original research.
Step 2: Build a working moodboard
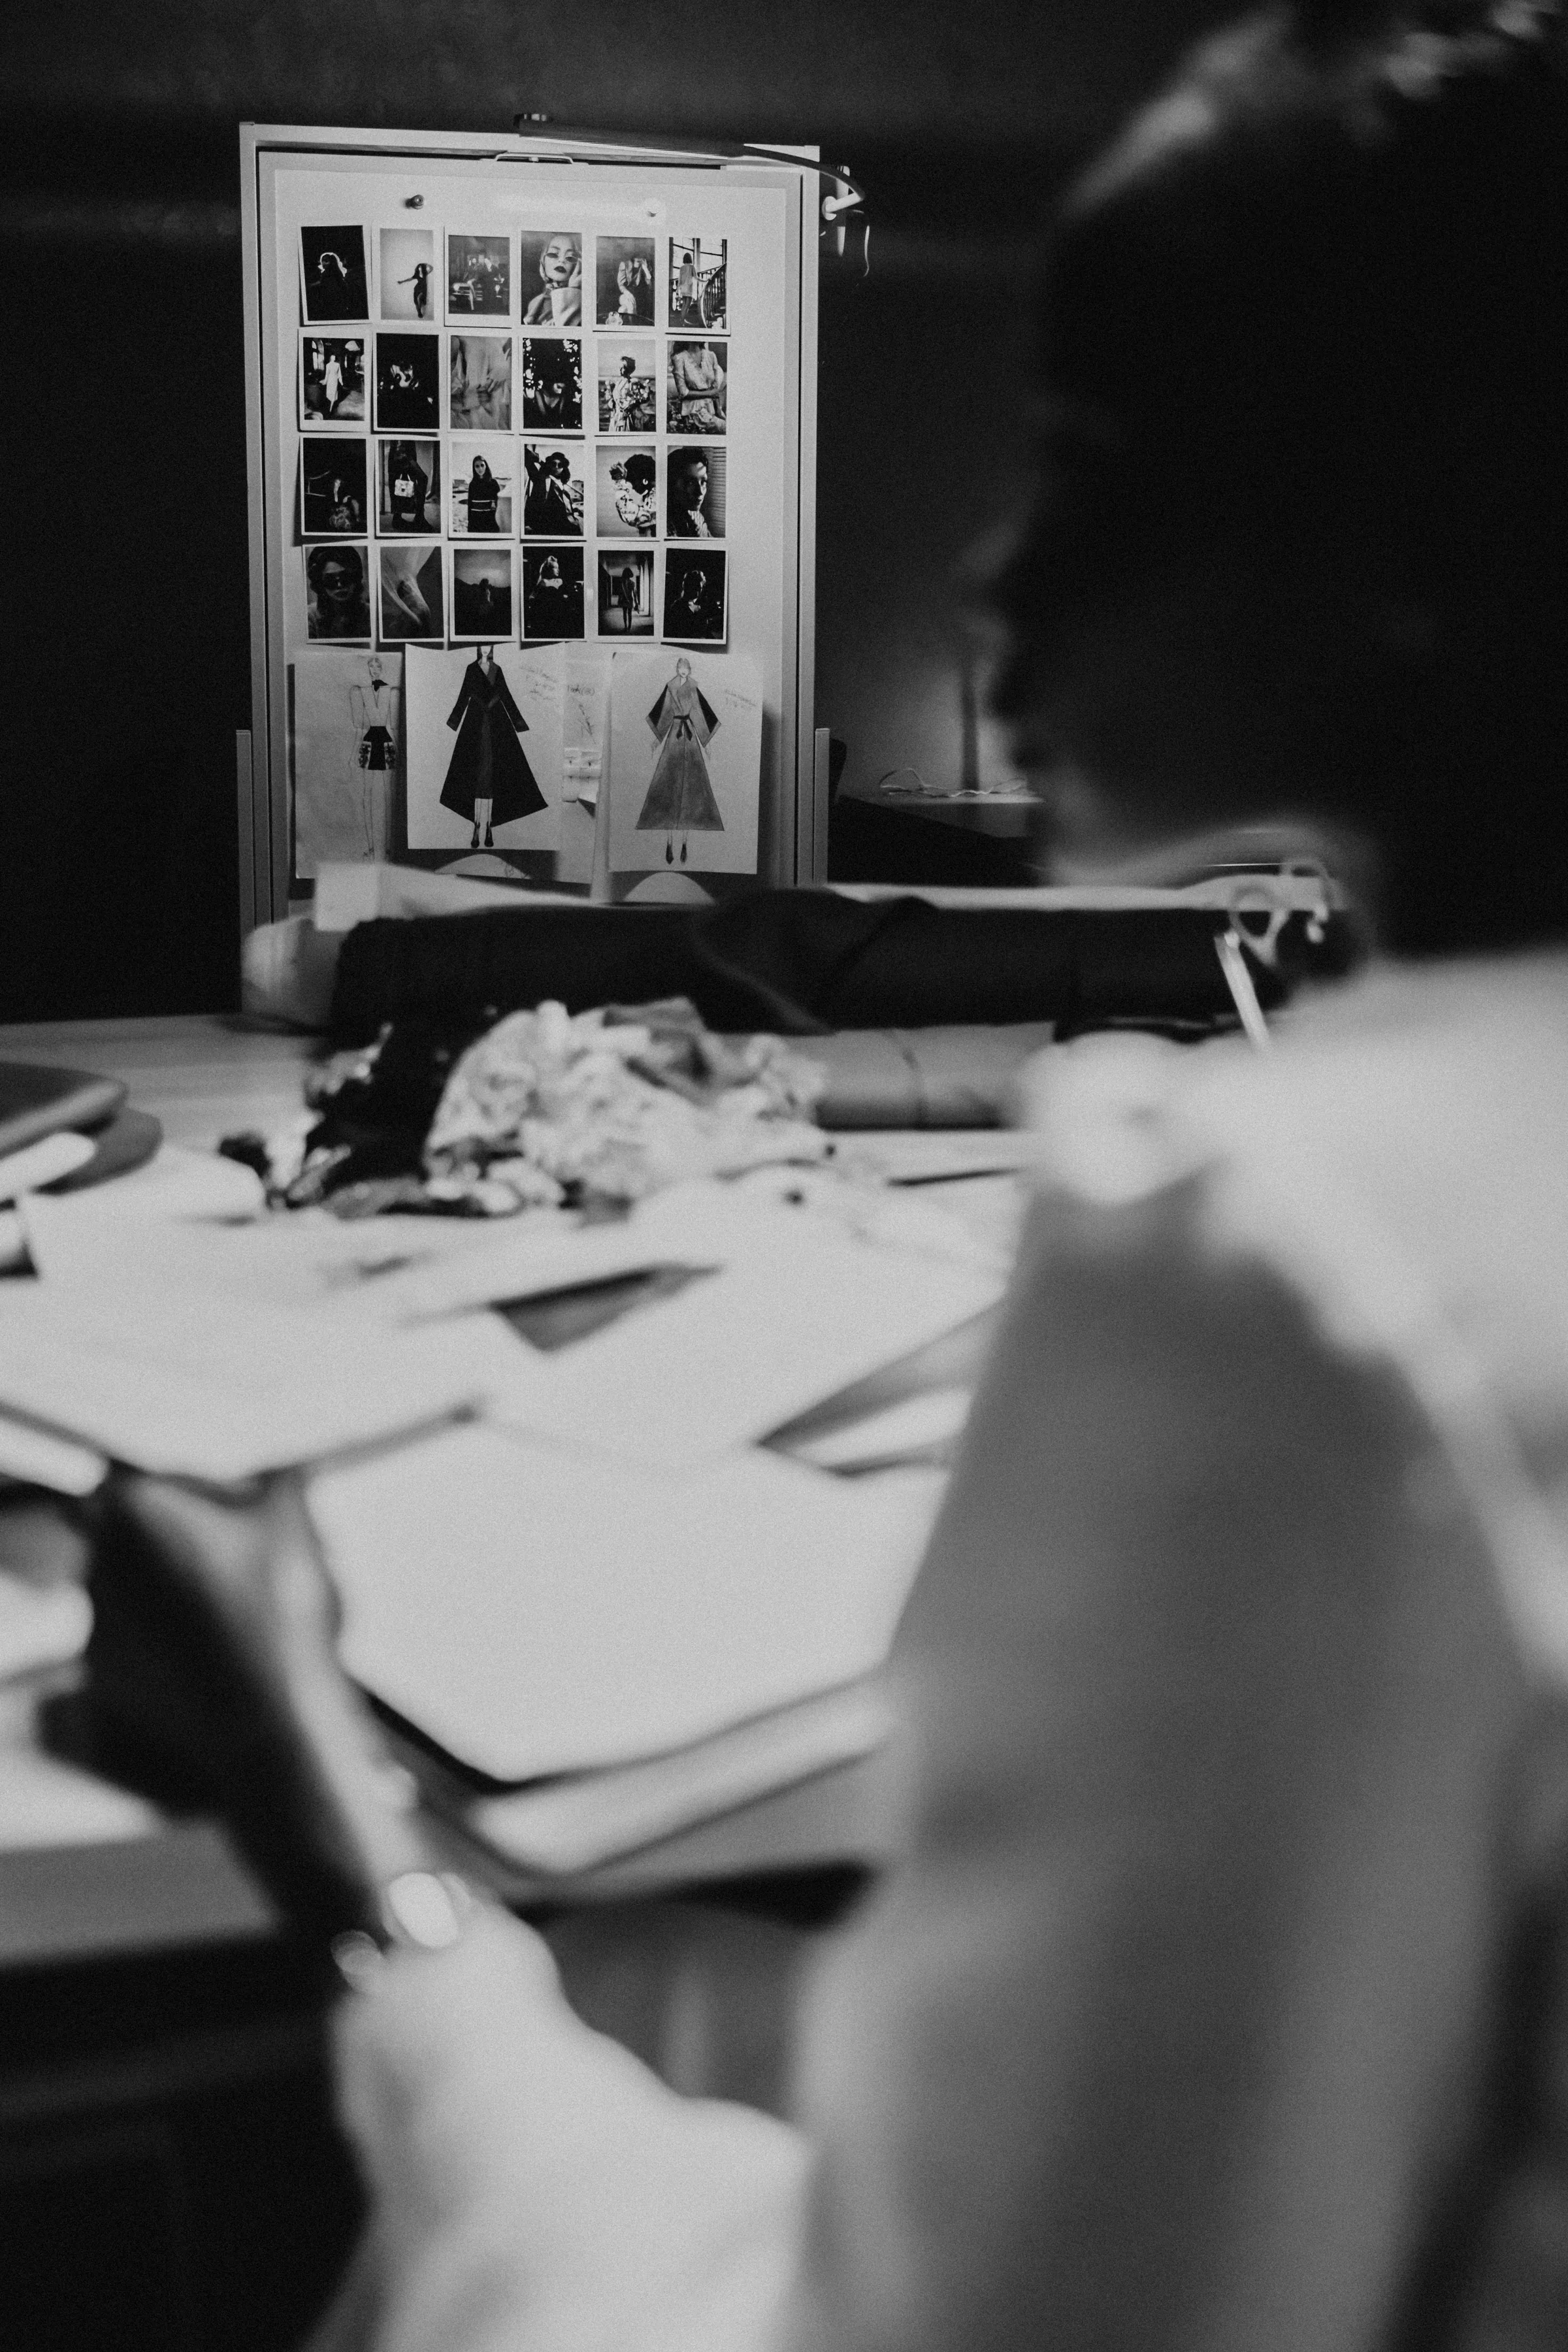
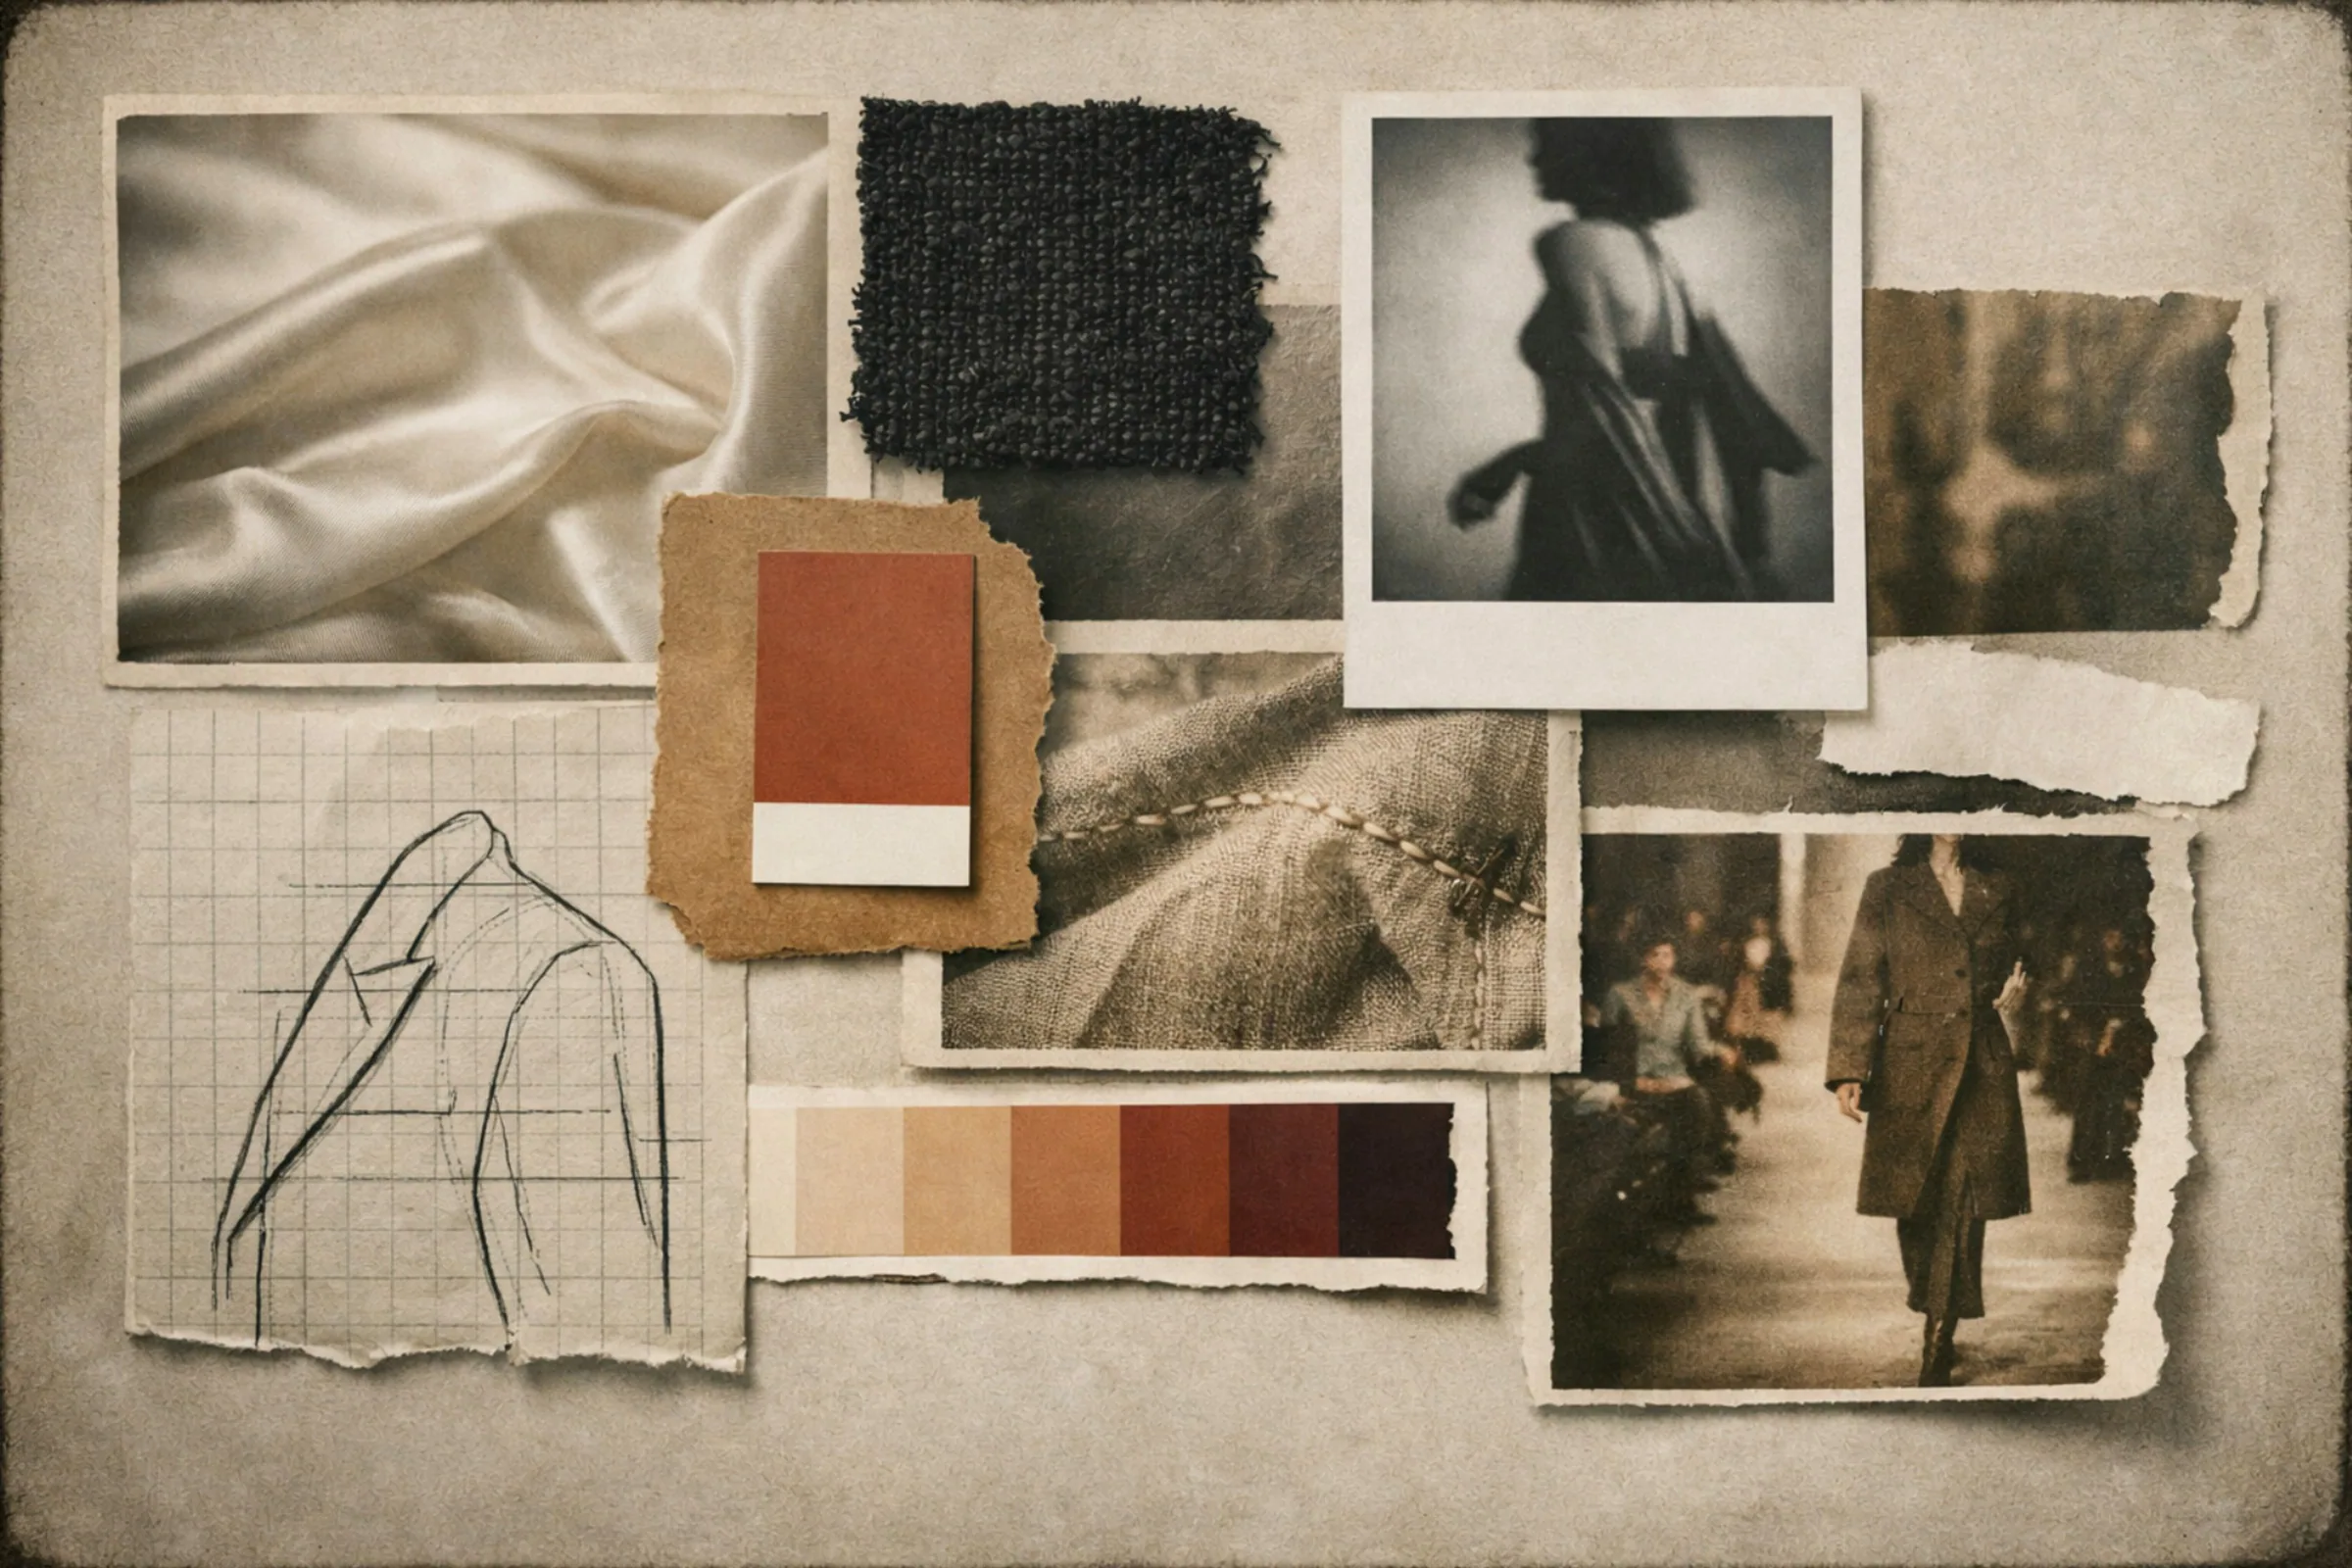
A moodboard should show relationships, not just taste. Group references by colour, texture, proportion, movement, surface, and atmosphere. Include fabric scraps, rough sketches, words, and small tests alongside images. Limit the board to references that help a decision about the collection.
 Sampling turns an attractive idea into information about movement, construction, and material behaviour.
Step 3: Select materials with evidence
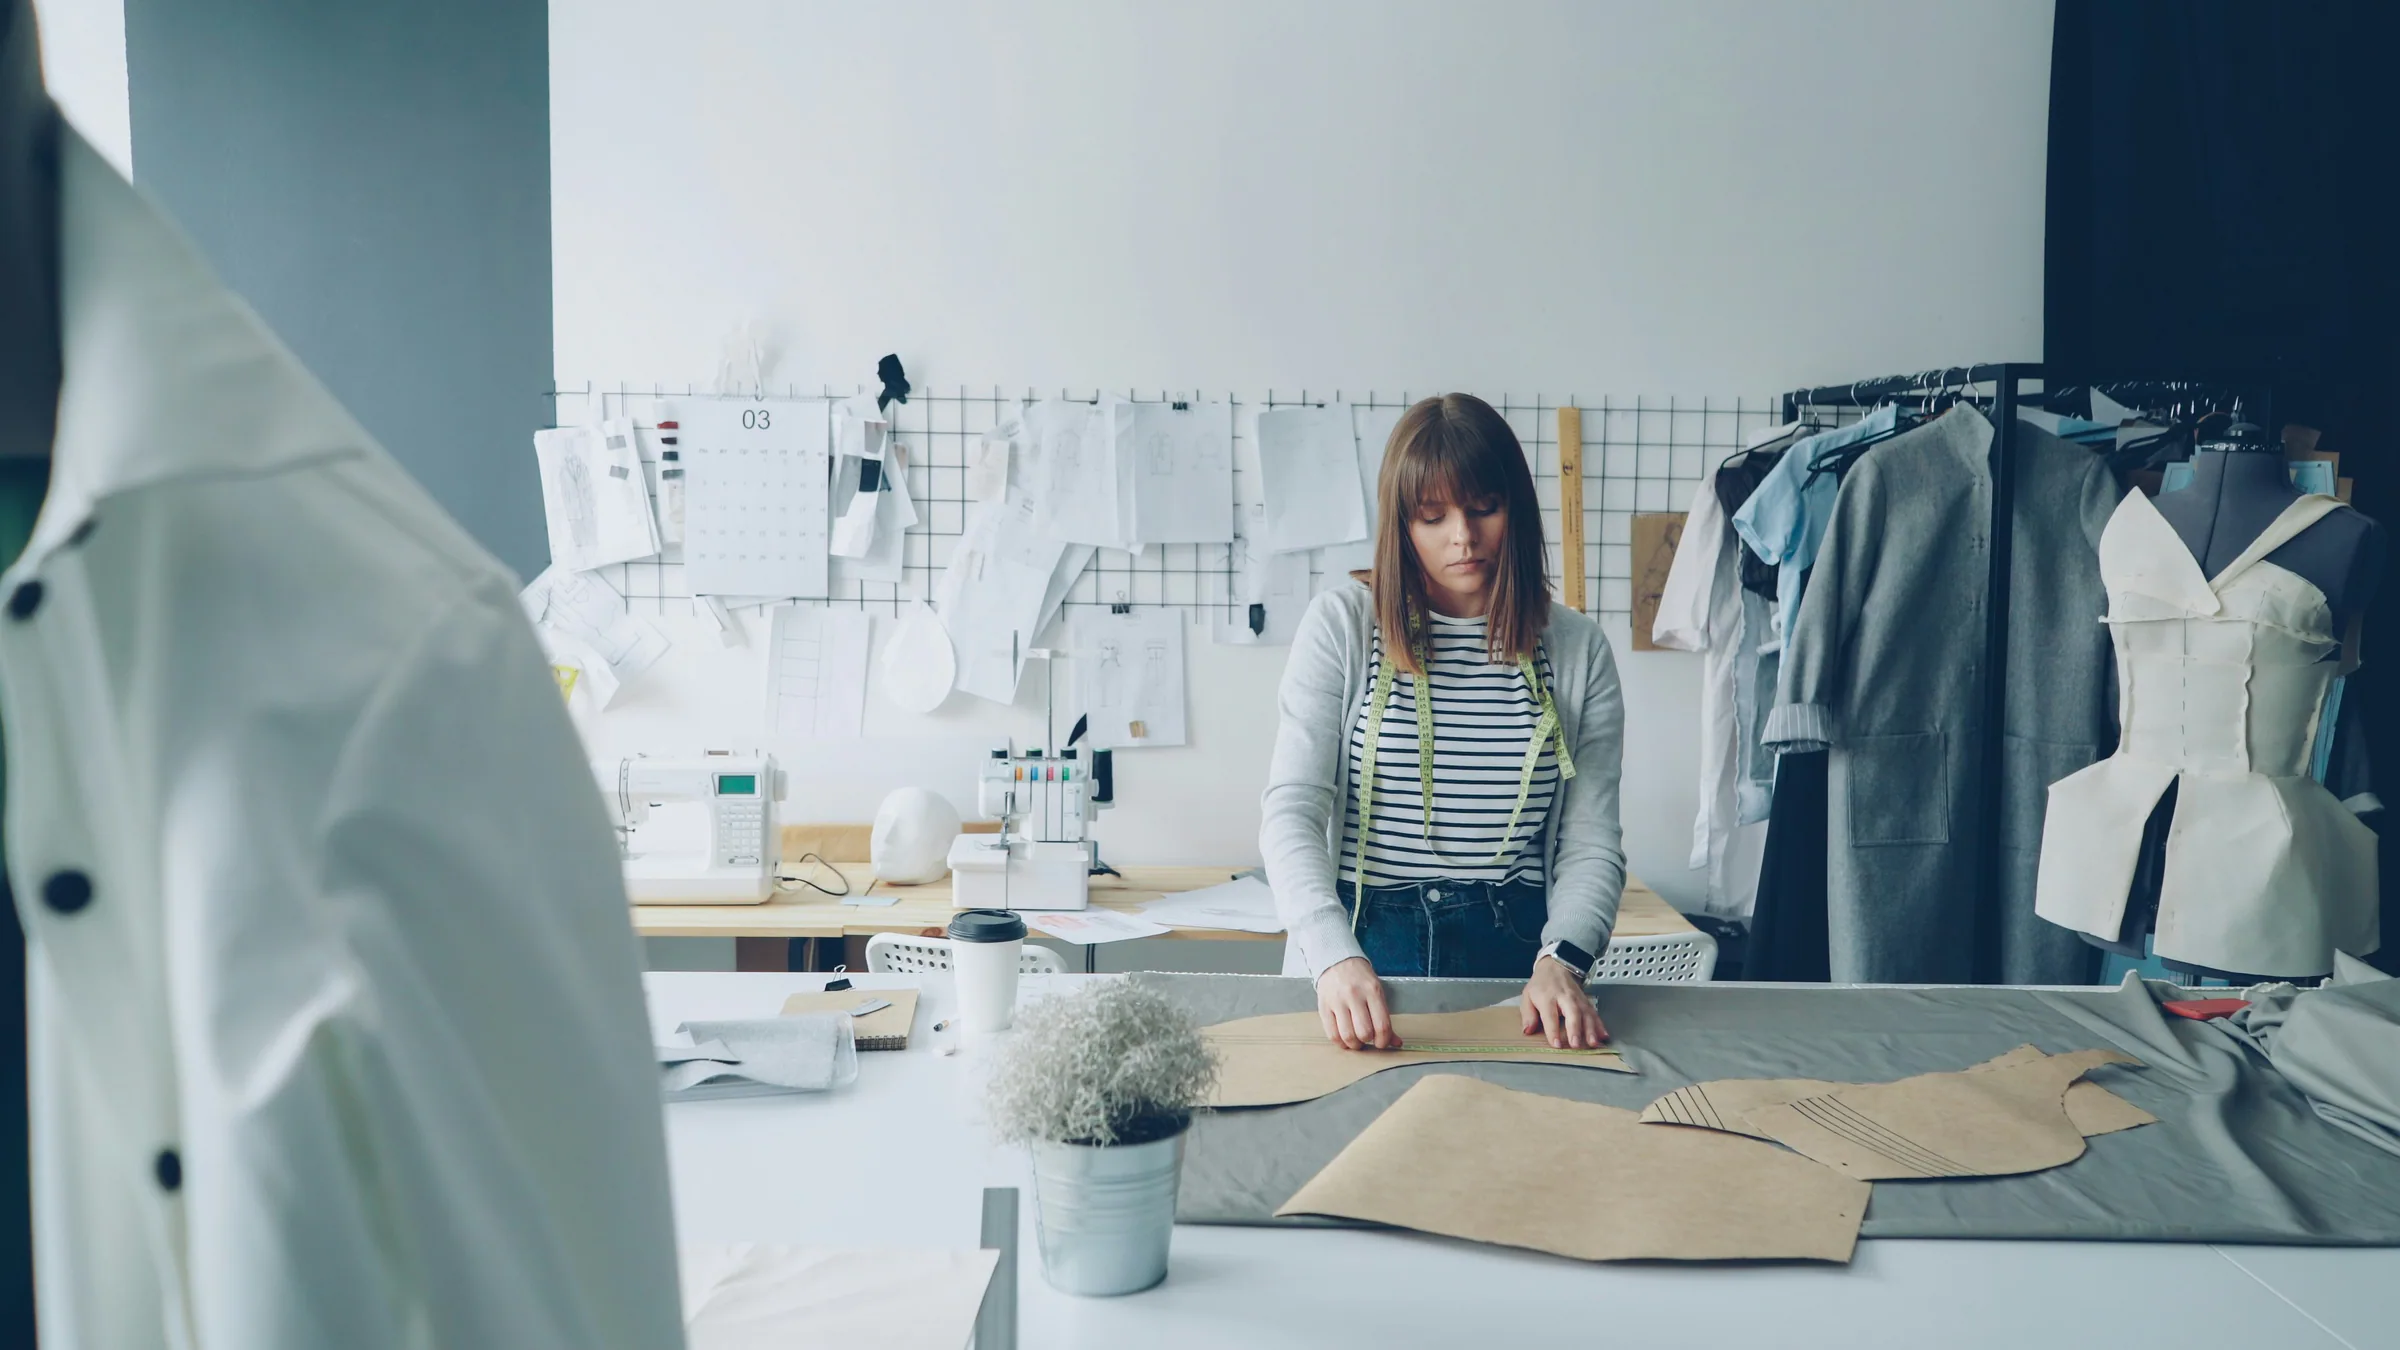
Choose materials by testing them, not by looking at a swatch alone. Check weight, drape, opacity, stretch, recovery, fraying, pressing response, and how the surface behaves under light. Wash or handle a small piece if the finished garment will be cleaned or worn often. Note the supplier, composition, colour, and any care information you receive.
Match material decisions to the concept and the use of the garment. A delicate surface may be right for a limited editorial piece but unsuitable for a garment designed for regular movement. If the material has a known limitation, design around it rather than hiding it.
Step 4: Develop samples and patterns
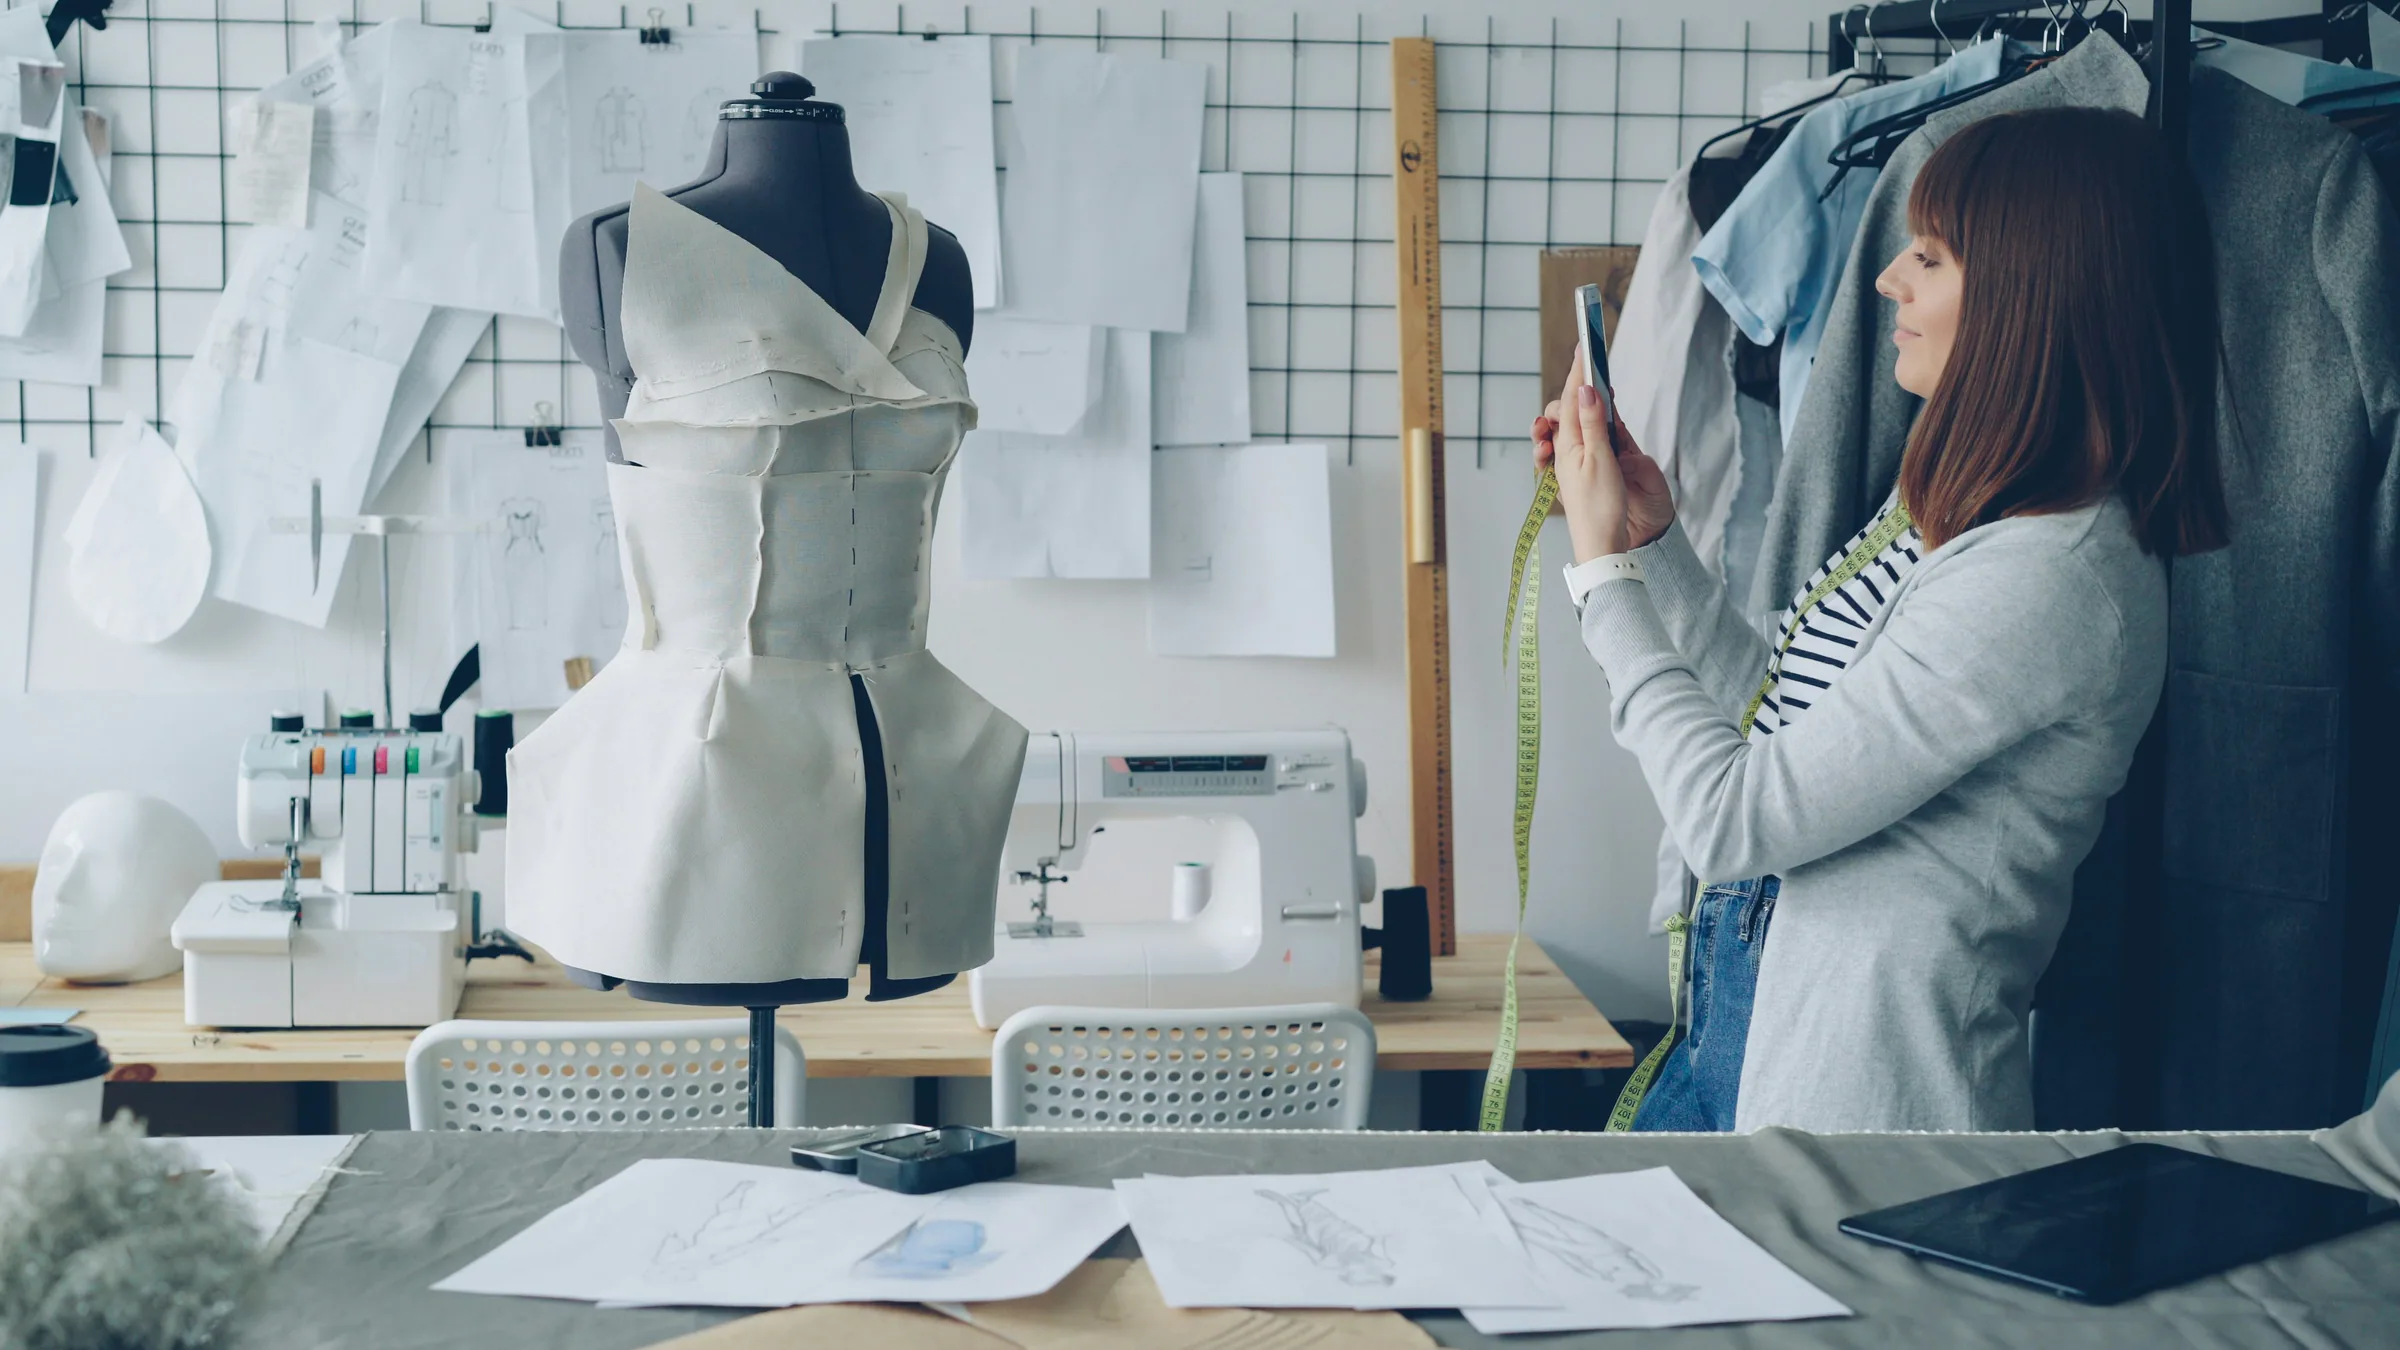
Begin with small tests: a seam, pleat, closure, pocket, print placement, or surface treatment. Then make a toile or prototype that answers the biggest construction question. Label each sample with the date, material, pattern version, and what you learned.
Change one important variable at a time where possible. If the fit and fabric change together, it becomes difficult to know why the result improved or failed. Keep photographs and notes so useful decisions are not lost between fittings.
Step 5: Run fittings as working sessions
A fitting is not only a final check. It is a conversation between the garment, the wearer, and the designer. Observe balance, comfort, mobility, closures, pressure points, and how the fabric behaves while standing and moving. Ask the wearer what they notice before explaining what you intended.
Mark changes directly and update the pattern after the session. Use consistent labels for each version. If a change affects other pieces in the collection, record that connection before cutting more samples.
Step 6: Prepare production
Before production, create a clear package for every look: final measurements, pattern version, construction order, material quantities, trims, finishing notes, and quality checks. Confirm who is responsible for cutting, sewing, pressing, alterations, and approvals. A shared checklist prevents small omissions from becoming expensive rework.
Plan a review point before the final garments are complete. Check seams, hems, closures, symmetry, stains, loose threads, labels, and the relationship between looks. I keep approved changes in one shared record so the final team is not working from memory.
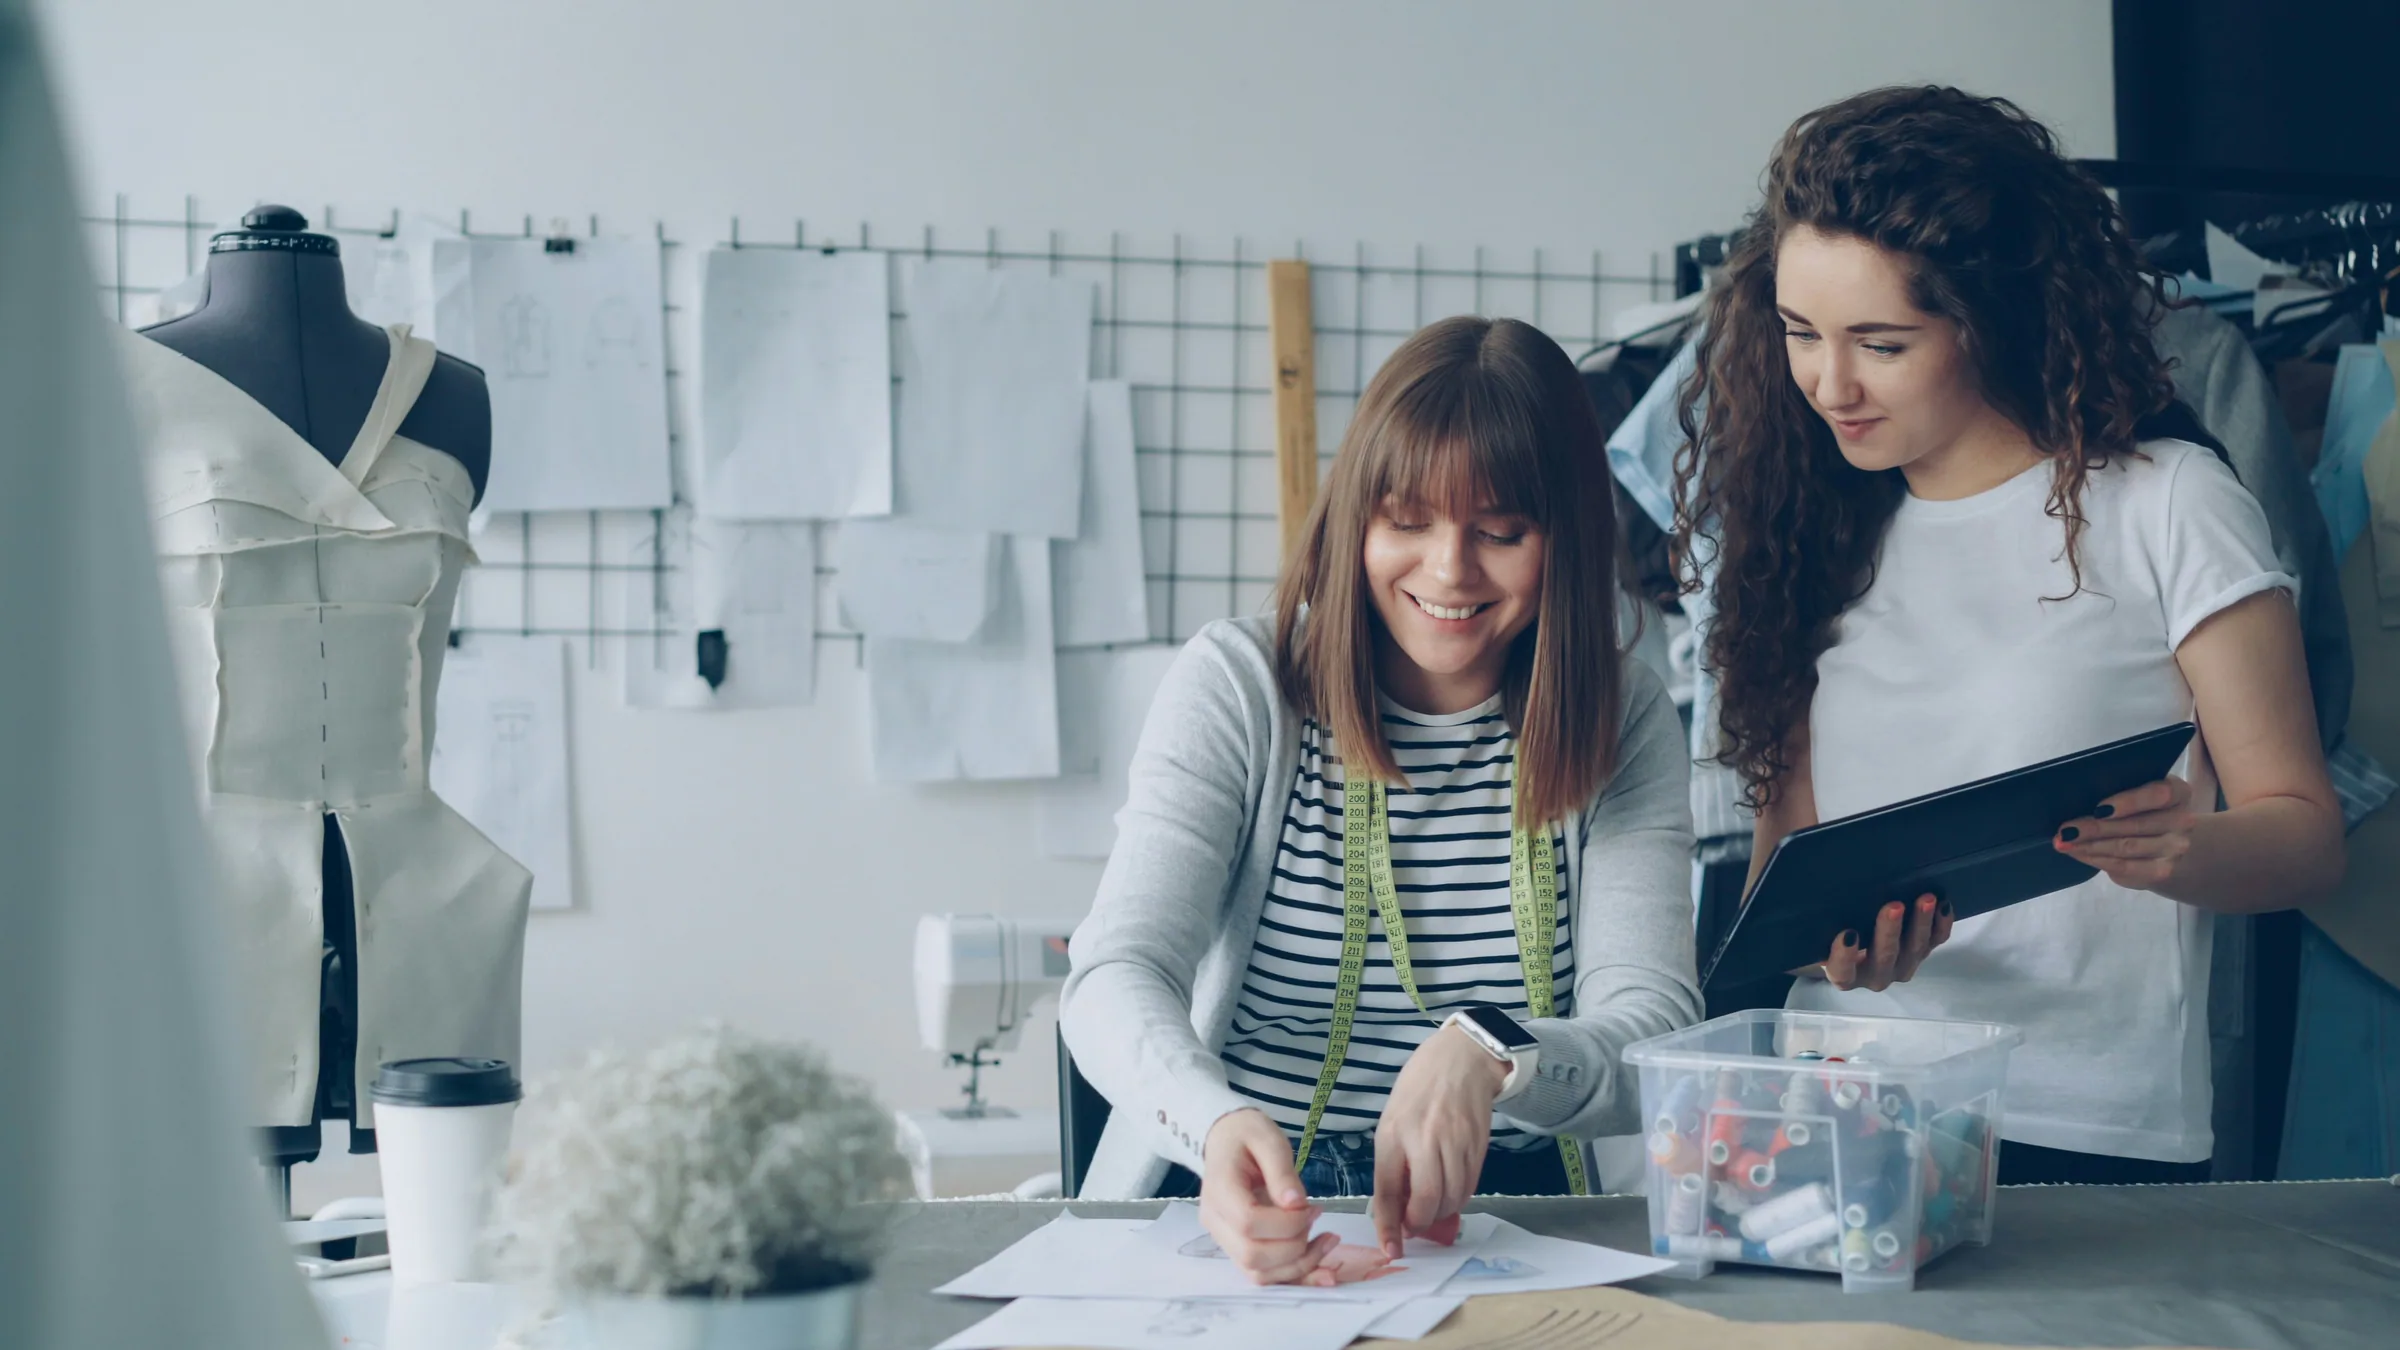 Shared notes make handoffs between design, sampling, and production more reliable.
Step 7: Shape the final presentation
Presentation should make the collection’s idea legible. Decide whether the audience needs a lookbook, runway sequence, editorial story, line sheet, exhibition, or a combination. Choose an order that creates rhythm and shows the range without hiding the strongest look.
Prepare a short collection statement, look names or numbers, material notes, credits, and care information where relevant. Credit collaborators clearly. Photograph details as well as full looks so viewers can understand the construction and surface work.
Common mistakes and fixes
- Starting with styling before the brief: Write the purpose and audience first.
- Collecting references without notes: Record why each reference belongs.
- Skipping small tests: Test the risky construction before making a full garment.
- Changing too many variables: Keep version notes and isolate major changes.
- Leaving production knowledge in someone’s head: Use a shared specification and approval record.
- Presenting only the final image: Show enough process to explain the decisions.
When to ask for outside help
Bring in a pattern cutter, technical designer, sample maker, producer, photographer, or stylist when a task sits outside your skill or capacity. Define the handoff, fee, credits, ownership, and approval rights before work begins. Specialist input early in the process can prevent a late-stage rebuild.
FAQ
How long should a fashion collection workflow take?
There is no universal timeline. The scope, number of looks, material availability, sampling depth, team size, and production method all affect the schedule. Build time for research, failed tests, fittings, revisions, and approvals instead of planning only for sewing.
How many moodboard images should I use?
Use as many references as you need to make the direction clear, then remove anything that does not guide a decision. A smaller board with labelled relationships is more useful than a crowded collage.
What should I record during sampling?
Record the material, pattern or technique version, date, measurements, machine or hand process, result, and next change. Add photographs from the same angle where possible so comparisons are meaningful.
How do I keep a collection coherent?
Repeat a few deliberate elements such as proportion, colour relationships, surface language, or construction details. Variation can happen in silhouette or styling while those anchors keep the group connected.
What belongs in a final presentation?
Include the strongest full looks, useful detail images, a concise concept statement, material and credit information, and a clear contact or ordering path. Choose the format that matches the audience rather than showing every experiment.
Related reading
Building a Fashion Portfolio That Gets Noticed can help you turn this workflow into project case studies with clear process images. How to Price Your Fashion Work with Confidence is useful when you are preparing a scope, production fee, or licensing conversation.
Ready when you are
Continue beyond this guide
Open the curated destination in a new tab when you are ready to continue.
Open resource